DIY Tips for Replacing Auto Parts in Your Van: A Step-by-Step Guide
Gathering Your Tools and Parts
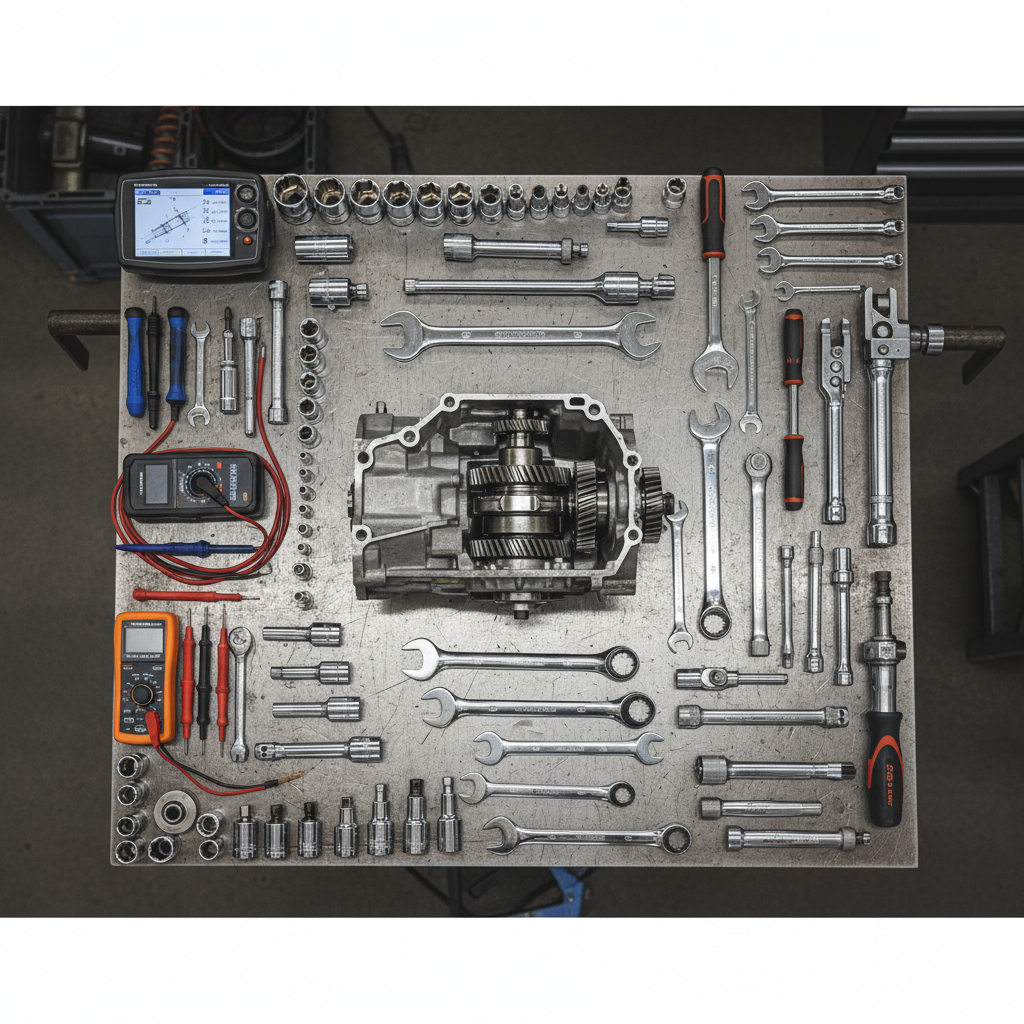
Before you begin replacing auto parts in your van, it's essential to gather all necessary tools and parts. Having everything on hand will make the process smoother and more efficient. Common tools include wrenches, screwdrivers, and pliers. Make sure you obtain the correct replacement parts specific to your van’s make and model.
Safety First
Prioritizing safety is crucial when working on your vehicle. Ensure your van is parked on a flat surface and the engine is turned off. Utilize wheel chocks and a jack stand to prevent any unexpected movements. Always wear protective gloves and eyewear to safeguard against injuries.
Replacing the Air Filter
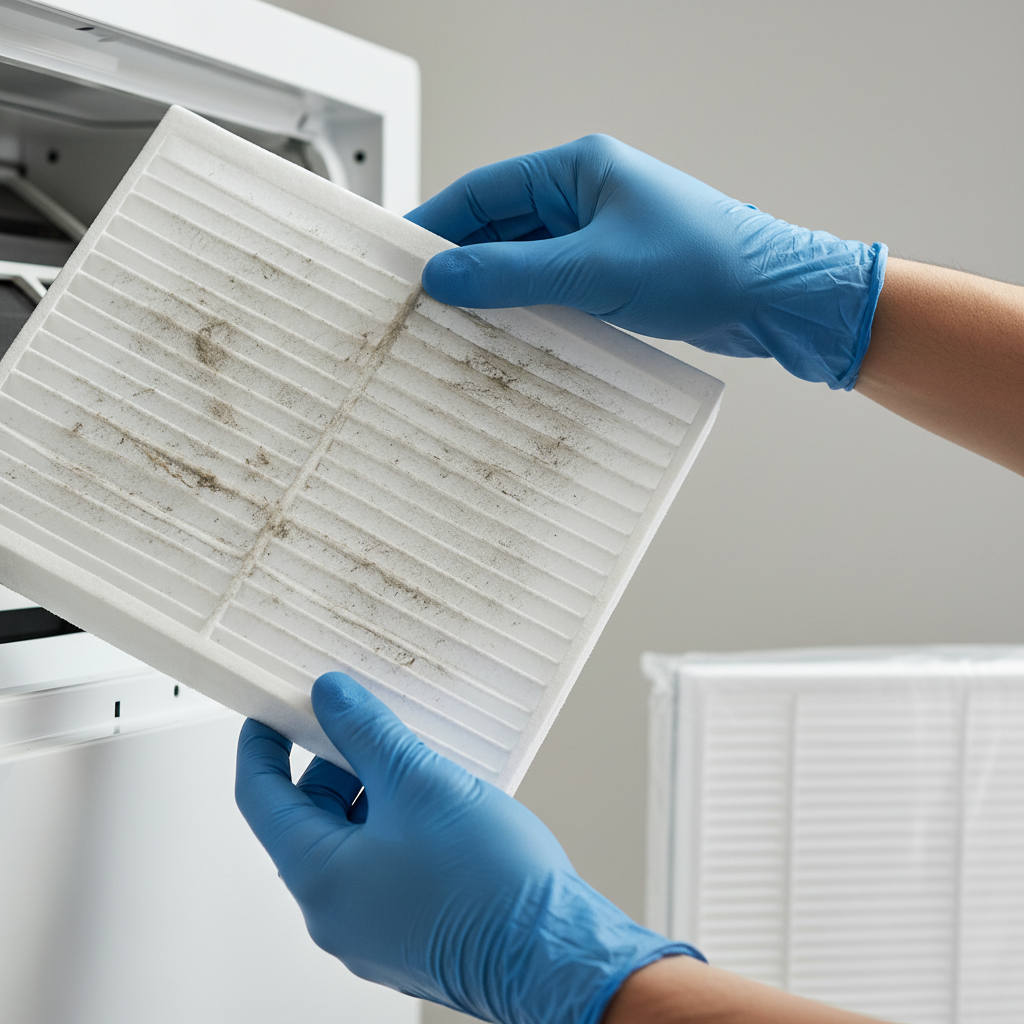
The air filter is one of the most straightforward parts to replace. Follow these steps:
- Open the hood and locate the air filter housing.
- Unclip or unscrew the housing and remove the old filter.
- Insert the new filter, ensuring it fits snugly.
- Secure the housing back in place.
Regularly replacing the air filter can improve your engine's efficiency and prolong its life.
Changing the Oil
Changing your van’s oil is a vital maintenance task. Here’s how to do it:
- Warm up the engine slightly to thin the oil for easier draining.
- Place a drain pan under the oil pan and remove the drain plug.
- Allow the old oil to drain completely before replacing the plug.
- Remove the old oil filter and install a new one.
- Fill the engine with new oil, checking the level with the dipstick.
Replacing Brake Pads
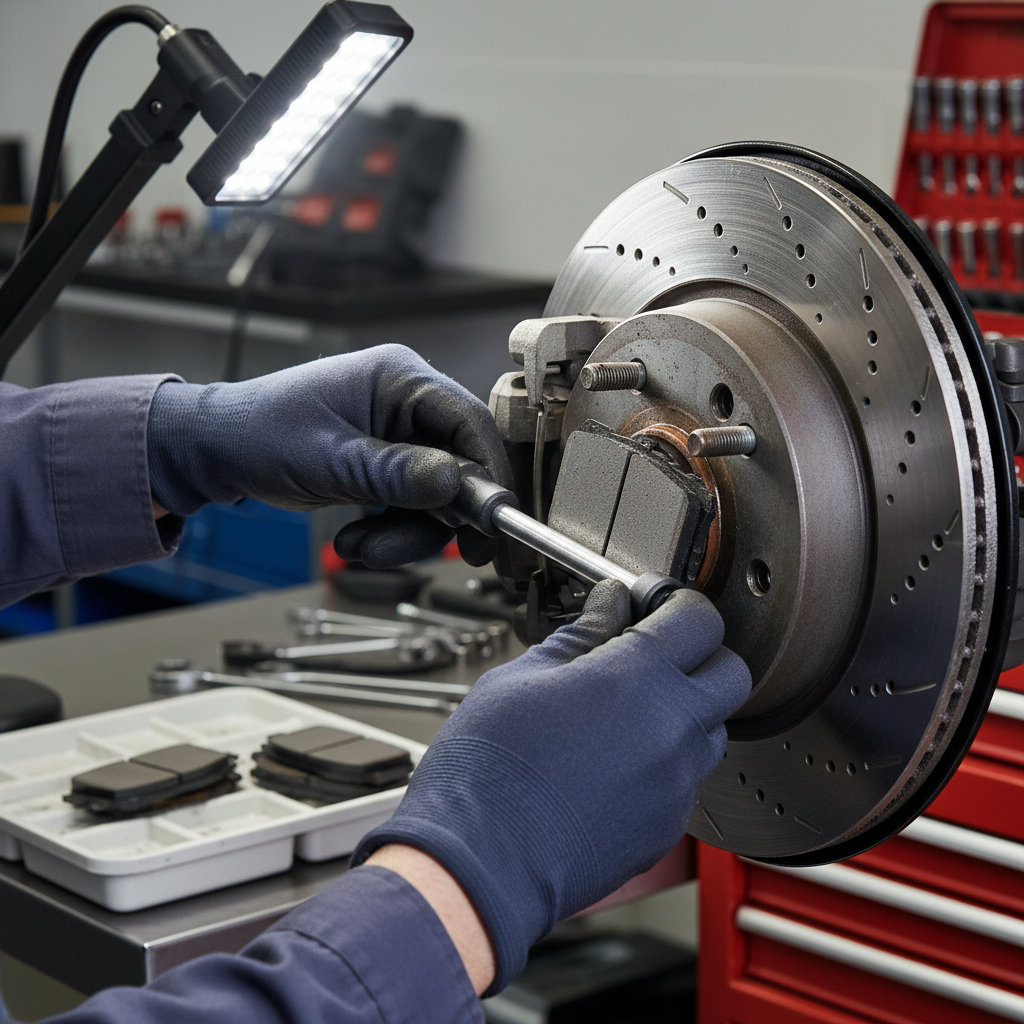
Replacing brake pads requires more attention but is manageable with the right guidance. Follow these steps:
- Loosen the lug nuts on the wheel, then lift the vehicle with a jack.
- Remove the wheel and locate the brake caliper.
- Unbolt the caliper and slide out the old brake pads.
- Insert the new pads and reattach the caliper.
- Reinstall the wheel and tighten the lug nuts.
Checking and Replacing Spark Plugs
Spark plugs are crucial for engine performance. Here’s how to check and replace them:
- Locate the spark plug wires and remove them carefully.
- Use a spark plug socket to unscrew and remove the old plugs.
- Check the gap on new spark plugs and adjust if necessary.
- Install the new plugs and reattach the wires.
Finishing Up
After replacing parts, it’s important to double-check all connections and ensure everything is secure. Start your van and let it run for a few minutes to confirm everything is functioning correctly. Dispose of old parts and fluids responsibly, following local regulations.
Conclusion
Replacing auto parts in your van can be a rewarding and cost-effective way to maintain your vehicle. By following these DIY tips and guidelines, you’ll enhance your understanding of your van and ensure it remains in optimal condition. Regular maintenance not only boosts performance but also extends the life of your vehicle.